Like with any other Open Source Software, it doesn't mean just making your code public. In this post I tell how I get my modules to be approved by Puppet Labs.
There’s a lot of great information online about how to write a good Puppet module. In this post I’m going to focus on the techniques we’ve used to have our modules officially ‘approved’ by PuppetLabs.
I’m assuming you’ve either built an entirely new module, or substantially improved one on the Forge, and that you’d like to prove this is a good quality module, so that it could gain approval by PuppetLabs.
Quality Score
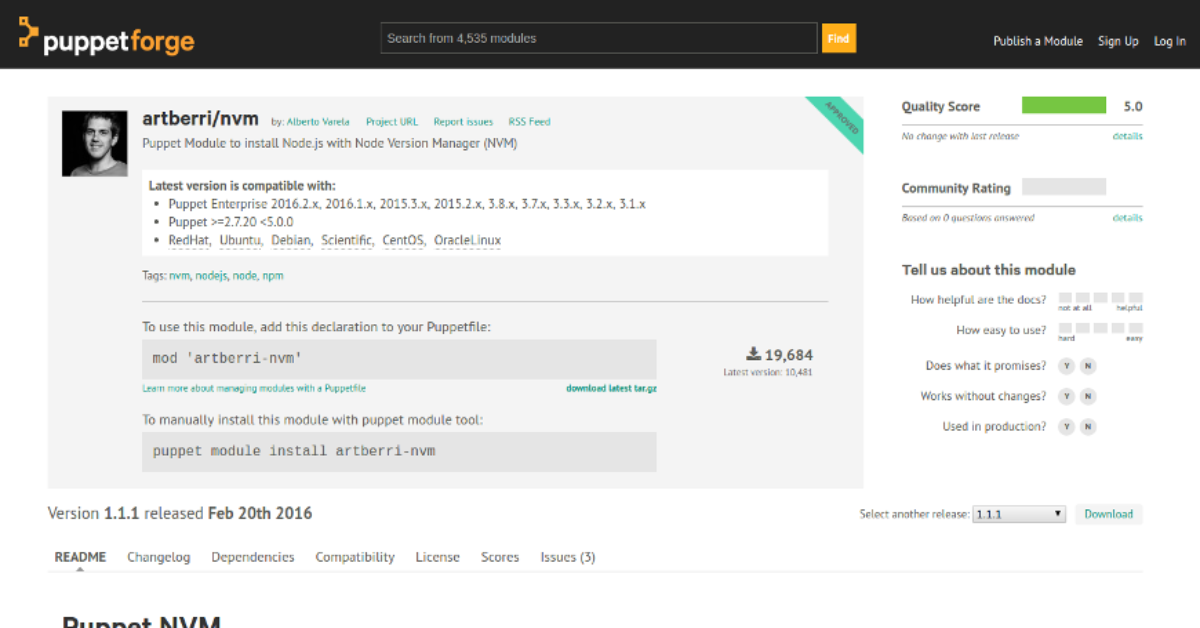
Once you’ve published your module to the Forge, you’ve got a Quality Score to start with, and you can aim to improve it. This score comprises the code quality, the Puppet compatibility and the metadata quality.
Code Quality
The Puppet Language has a style guide that you should follow. You can use the same tool that they use to validate your code before publishing, it’s called puppet-lint.
We will use Rake (the common build utility for Ruby) to build our project, so add it to your gem dependencies if it has not been added already and create a Rakefile with this content:
require 'puppet-lint/tasks/puppet-lint'

PuppetLint.configuration.fail_on_warnings
PuppetLint.configuration.send('relative')
PuppetLint.configuration.send('disable_80chars')
PuppetLint.configuration.send('disable_class_inherits_from_params_class')
PuppetLint.configuration.send('disable_class_parameter_defaults')
PuppetLint.configuration.send('disable_documentation')
PuppetLint.configuration.send('disable_single_quote_string_with_variables')
PuppetLint.configuration.ignore_paths = ["spec//*.pp", "pkg//*.pp"]
By default Puppet Lint comes with a ton of rules, the above configuration is the one used by Puppetlabs when they calculate your Quality Score.
Then you will be able to run the lint check:
rake lintOr even better if you use bundler to manage your gem dependencies (I will suppose that you do it in the rest of the post):
bundle exec rake lintEnsure that your code has not got any linting error.
Puppet Compatibility
Your code should also be compatible with the latest Puppet versions and to validate it we can use the Puppet command line:
puppet parser validate ./manifests/whatever.ppThe Quality Score only checks the Puppet compatibility, but we should also check that our ruby code (including templates) has not any error. Because of the fact that all these tasks should be automated, we can add a validate task to our Rakefile including all these checks:
desc "Validate manifests, templates, and ruby files"
  task :validate do
    Dir['manifests/**/*.pp'].each do |manifest|
      sh "puppet parser validate --noop #{manifest}"
    end
    Dir['spec/**/*.rb','lib/**/*.rb'].each do |ruby_file|
      sh "ruby -c #{ruby_file}" unless ruby_file =~ /spec\/fixtures/
    end
    Dir['templates/**/*.erb'].each do |template|
    sh "erb -P -x -T '-' #{template} | ruby -c"
  end
end
And run them with the validate task:
bundle exec rake validateMetadata Quality
To publish a module to the Forge we need a metadata.json file which contains important information about the module and can configure certain features. In addition to a basic JSON validation we need to ensure also that:
- It contains a valid license using the SPDX syntax.
- It sets an upper bound version limit for all the dependencies. The fact that your module is compatible with the 2.x.x version of another module doesn’t mean that it will also be compatible with the 3.x.x version.
- It provides OS compatibilty information.
- It contains valid project, source and issue URLs.
This validation can also be automated if you include the metadata-json-lint gem into your dependencies and the following line in the Rakefile:
require 'metadata-json-lint/rake_task'Run the metadata linting:
bundle exec rake metadata_lintIf your code passes all these checks you will have 5 points in the Quality Score, which doesn’t mean that your code works well, but at least ensures that it is well written. This will also help you with your module visibility in the Forge, because it is one of the main factors to appear in the first positions in the search results. Having more visibilty will also give you more downloads which will help to gather more feedback and to be considered for a approved status.
Documentation
Proper documentation is key for an Open Source project. Puppet provides a README template that you can follow to describe your module and write all the module information: description, requirements, limitations, usage and a complete reference.
When you apply your module to be Puppet approved the documentation validation is based on a human review, which is obvious taking into account that the documentation is intendeed to be read by humans. You should show the documentation to your mates and ensure that they can use your module without any explanation, remember that the final users will not be able to ask you if they have any doubt.
A CHANGELOG.md file is also helpful and definitely needed if you have added new functionalities or backward incompatibilities. Remember also to use semantic versioning strictly.
Testing
Now it is time to prove that your module works. Puppet provides different test frameworks to be able to test your code, and third-parties are also creating tools to help testing our Puppet module, like Serverspec that allow us to write RSpec tests so we can check that our servers are configured correctly.
Unit Testing
Unit tests tell a developer that the code is doing things right.
The rspec-puppet gem is the common framework for unit testing with Puppet. You should add also the puppetlabsspechelper gem that is a set of shared spec helpers specific to Puppet projects, and mocha that is a mocking and stubbing library for Ruby.
Then, create a directory called spec with a spec_helper.rb file inside it, and include the puppetlabsspechelper:
require 'puppetlabs_spec_helper/module_spec_helper'You need to create unit tests for all your classes and defines if you want to be approved. You can read the documentation to know how to write the tests or check the tests of a good module to get an idea on how you should do it.
If your module has dependencies you should create a .fixtures.yml file to allow your tests to automatically install dependencies, for example if you depend on stdlib:
fixtures:
  repositories:
    stdlib: "git://github.com/puppetlabs/puppetlabs-stdlib.git"
  symlinks:
    yourmodule: "#{source_dir}"
To run your unit tests automatically add the tasks provided by the puppetlabsspechelper to your Rakefile:
require 'puppetlabs_spec_helper/rake_tasks'And run the tests:
bundle exec rake specAcceptance Testing
Functional tests tell a developer that the code is doing the right things.
With Vagrant we will be able to build different environments where we can test our module, and with the beaker-rspec framework, which is a bridge between the Puppet acceptance test harness (beaker) and rspec, we will be able to set up machines, run any configuration on those machines, run the tests and then exit.
Create a spechelperacceptance.rb file inside the spec directory which should include beaker and install your module:
require 'beaker-rspec'
require 'beaker/puppet_install_helper'

run_puppet_install_helper

UNSUPPORTED_PLATFORMS = []

RSpec.configure do |c|
  proj_root = File.expand_path(File.join(File.dirname(**FILE**), '..'))

  c.formatter = :documentation

  # Configure all nodes in nodeset
  c.before :suite do
    # Install module
    puppet_module_install(:source => proj_root, :module_name => 'yourmodulename')
    hosts.each do |host|
      # Replace this with your own dependencies
      on host, puppet('module','install','puppetlabs-stdlib','--version','4.9.0'), { :acceptable_exit_codes => [0,1] }
    end
  end
end
The acceptance tests should be included inside the spec/acceptance directory. At least they should ensure that the module is being installed without errors and that it is idempotent, which means that it can be safely run multiple times. Of course it should check that the module does what it is intended for, and serverspec is a good tool to do it.
An acceptance test should look like this:
require 'spec_helper_acceptance'
describe 'yourmodule class' do
describe 'running puppet code' do
pp = <<-EOS
class { 'yourmodule':
user => 'root',
}
EOS
let(:manifest) { pp }
it 'should work with no errors' do
apply_manifest(manifest, :catch_failures => true)
end
it 'should be idempotent' do
apply_manifest(manifest, :catch_changes => true)
end
# test command sample
describe command('test any command') do
its(:exit_status) { should eq 0 }
its(:stdout) { should match /regexp/ }
end
# test package installation sample
describe package('packagename'), :if => os[:family] == 'ubuntu' do
it { should be_installed }
end
# test service sample
describe service('servicename'), :if => os[:family] == 'redhat' do
it { should be_enabled }
it { should be_running }
end
# test port sample
describe port(80) do
it { should be_listening }
end
end
endInside the spec/acceptance/nodesets directory we need to create at least one default.yml file with a node definition, but we should create multiple node definition files to test our module against different OS. This can be a default node definition:
HOSTS:
  centos-70-x64:
  roles:
    - master
  platform: el-7-x86_64
  box : puppetlabs/centos-7.0-64-nocm
  box_url : https://vagrantcloud.com/puppetlabs/boxes/centos-7.0-64-nocm
  hypervisor : vagrant
CONFIG:
  type: foss
Finally you can run your beaker tests in the default node with:
bundle exec rake beakerTo be approved you should create different test environments and automatically test your module against different OS (if applicable). There aren’t free building tools that allow making these tests with Vagrant, so the Puppetlabs team will check these tests manually if you send your module approval request, and they will check also that all the public classes and defines are being tested.
Continous Integration
Github is the common repository hosting used by the Puppet module creators and Travis CI the common building tool. You can choose another one, but you should have a public build status to allow everybody to know the build status of your code and to check if your code is passing all the previously mentioned quality checks and tests, a badge with the build status is generally added to the readme file
To make the whole build process easier, that will be run automatically with each commit in TravisCI, we can make a new task in the Rakefile:
desc "Validate, lint and test running"
task :test do
  Rake::Task[:validate].invoke
  Rake::Task[:metadata_lint].invoke
  Rake::Task[:lint].invoke
  Rake::Task[:spec].invoke
end
You can test the task with:
bundle exec rake testWe can use TravisCI to build the module against different Ruby and Puppet versions. A file called .travis.yml placed in the root of our project will define our buid:
---
sudo: false
language: ruby
cache: bundler
bundler_args: --without system_tests
script: "bundle exec rake test"
matrix:
  fast_finish: true
  include:
  - rvm: 1.9.3
    env: PUPPET_GEM_VERSION="~> 3.0"
  - rvm: 2.1.5
    env: PUPPET_GEM_VERSION="~> 3.0"
  - rvm: 2.1.5
    env: PUPPET_GEM_VERSION="~> 3.0" FUTURE_PARSER="yes"
  - rvm: 2.1.6
    env: PUPPET_GEM_VERSION="~> 4.0" STRICT_VARIABLES="yes"
notifications:
    email: false
Ensure that you are allowing multiple Puppet versions to be installed based on an environment variable which you can do by editing your Gemfile:
def location*for(place, fake_version = nil)
  if place =~ /^(git:[^#]*)#(.\_)/
    [fake_version, { :git => $1, :branch => $2, :require => false }].compact
  elsif place =~ /^file:\/\/(.\*)/
    ['>= 0', { :path => File.expand_path($1), :require => false }]
  else
    [place, { :require => false }]
  end
end

puppetversion = ENV['GEM_PUPPET_VERSION'] || ENV['PUPPET_GEM_VERSION']
if puppetversion
  gem 'puppet', \*location_for(puppetversion)
else
  gem 'puppet', :require => false
end
Keep your build green!
Make it flexible
There are two main reasons that can force someone to create a new module instead of using yours: Yours didn’t work well, what is something that shouldn’t happen if you follow all the previous steps, or that your module is not flexible enough.
When publishing a module you should think about all the scenarios that can be solved with the tool that you are automating and parametrize the module in consequence.
Use a class for the default parameters (manifests/params.pp) and make your init file (manifests/init.pp) to inherit from it. This will add readability to your module if the amount of logic or the number of parameters grows. If you have defines it will be fine if you also allow using them from the init file (with a hash parameter):
# manifests/params.pp
class yourmodule::params {
  # ...
  $whatever_instances = {}
}

# manifests/init.pp
class yourmodule (
  # ...
  $whatever_instances = $yourmodule::params::whatever_instances,
) inherits ::yourmodule::params {

  # ...

  create_resources(::yourmodule::a_define, $whatever_instances)
}
With this approach you will allow to use the defines to the people that are using hiera, or tools like Foreman, to configure their nodes.
Stay tuned to the issues and to the pull requests of your module in Github, and try to implement the feature requests of the users of your module when they are reasonible. PuppetLabs look for “a level of community engagement” around your module to approve it.
Is that all?
Probably not, but these are the steps that I followed to get my NVM module approved by Puppetlabs.
That’s all folks!
This text is licensed under a Creative Commons Attribution 4.0 International License.